Friday, June 22, 2012

Lamb Loin Chops with a Ginger Brandy Sauce

My grandmother wanted to cook lamb loin chops for my grandfather. I wasn't exactly sure what they looked like, tasted like, or how to cook them. And every time I talked to her she called them something different so I was thoroughly terrified.

Well, they look like small, fat pork chops but more of a red meat. The taste sort of like steak but wayyyyy more tender and flavorful when eaten medium-rare. And I'm about to tell you how to cook them!  I'm no expert, considering this was my first time cooking or eating them, but we all thought they were delicious.

I think the only down sides to these lamb loins is that 1) the cut of meat is usually pretty pricey and 2) it's a lot of work to get all the meat off the bone and it's a very small amount of meat. Like I was shameless gnawing on the bone to get all the meat off because I was at my grandparents' house. If I was out to dinner, things may have gotten a little weird. But as for the taste and ease of cooking, they are wonderful!

I served these chops with the lemon thyme turnips and the honey glazed snow peas and carrots that I shared in the last two posts. I loved the combination of the lemon, the honey, and the ginger. It was just so flavorful, yet fresh and subtle.

Give these a try if you're feeling adventurous or want to cook a meal that sounds/looks really impressive!

Lamb Loin Chops with a Ginger Brandy Sauce (4 servings of 2 chops) adapted from The Hungry Mouse

Ingredients:
  • seasonings (we got them from our butcher but you can just make your own using whatever herbs you have/like)
  • 1 Tbsp olive oil
  • 2 Tbsp butter, cold
  • 1/4 cup ginger brandy
  • 2 tsp parsley 
  • 2 tsp oregano
  1. Heat the oil over medium-high heat. 
  2.  Cook the chops for 3-4 minutes on each side. This will cook the meat medium-rare.  
  3. Remove the chops from the pan and place in a baking dish. Place into the oven (any low-ish temperature is fine because they will only be in there for a minute or two, you just don't want them to get cold).
  4. Add cold butter to the pan. Pour in the brandy. It will produce a lot of smoke so stand back and don't worry. 
  5. Add the parsley and oregano to the sauce. 
  6. Add the chops back to the pan. Flip once or twice to coat them in the sauce. 
  7. Transfer the chops to a serving platter. Drizzle the remaining sauce on top. Serve immediately.

the chops are done!

cooked and sauced!


Wednesday, June 20, 2012

Honey Glazed Snow Peas and Carrots

In the last post I said that I always get too distracted to make vegetable side dishes that require a recipe. I usually take the easy way out and just serve some frozen veggies with some seasonings and butter and call it a day. I know, I know... a total food blog flop.

But now I'm giving you two veggie side dish recipes in a row! Aren't you thrilled?!?! Actually, I'm sure you'd rather see some epic dessert. And, frankly, so would I. But it's bikini season so I'm throwing some veggies on here to motivate us all.

I love the honey glaze on this dish. It works perfectly with the sweet carrots and the delicate snow peas. This light sauce would be great to throw on any vegetables that you are serving to accompany a sweeter main dish like barbeque or teryaki flavored meats. I served this with the turnips that I just posted and the main dish that I'll post in a couple days! The tangy lemon and the sweet honey paired quite well together. And this bright side dish jazzed up the tasty but visually boring turnips. Success!

Simple. Easy. Light. Summery. Perfect.

Honey Glazed Snow Peas and Carrots (6 servings)
  • 2 cups baby carrots
  • 1/2 lb snow peas
  • 2 Tbsp butter
  • 2 Tbsp honey
  • 1tsp garlic powder (or fresh minced would be great!)
  1. Steam the carrots for 10-15 minutes (mine took a little on the longer side) or until tender. Add snow peas and continue steaming for 2 minutes. 
  2. Melt the butter in a pan. Add the vegetables. Stir in honey and garlic powder. 
  3. Cook over medium heat for 2 minutes.

on my grandmother's fancy dishes :)

Monday, June 18, 2012

Roasted Lemon Thyme Turnips

I am constantly looking to experiment with side dish recipes. However, I generally forget about the side dish because I am concentrating on the main dish (and the dessert of course!). I also make a lot of one dish meals. But enough with the excuses, I have an awesome and easy veggie side dish recipe for you guys!

In the winter, I crave soup, pasta, cream sauce, and anything else that will make me feel warm and full. In the summer, I love fresh, crisp vegetables that I can enjoy while sitting on a patio. When I went to my grandmother's house for dinner the other day, she had bought some turnips from the farmer's market. I had never eaten turnips before but I was up for the challenge of cooking them! My grandmother said that they are usually served mashed but, as I said before, I really like the feel of fresher vegetables in the summer so I decided to roasted them with onions and lemon juice.

I really liked the way they turned out! The texture reminded me of something between a carrot and a potato while the taste reminded me more of cauliflower. However you want to describe it, I dig it and plan on using them more often. The lemon and thyme gave the dish quite a strong tangy flavor. It went really well with the other side dish and main course I served (recipes will be coming later this week!). The only negative aspect of this dish is that it looks very boring with the white turnips and the white onions. When I made it again, I will at least garnish it with slices of lemon and larger sprigs of thyme. It might even be nice to throw in a nice green vegetable like asparagus, green beans, or Brussels sprouts!

If you're a turnip virgin like I was, give it up already and try these ;)

Roasted Lemon Thyme Turnips (6 servings)
  • 6 turnips, cut into 2'' cubes
  • 1/2 Vidalia onion, sliced
  • 2 Tbsp olive oil
  • 1/4 cup lemon juice
  • 2 Tbsp thyme
  1. Preheat the oven to 400 degrees. 
  2. Toss the turnips and onions with the olive oil, lemon juice, and thyme. Place in a baking dish. 
  3. Bake for about 30-40 minutes or until tender.


I went to use dried thyme but my grandfather had some fresh in his garden!

it tastes a lot more exciting than it looks!

Thursday, June 14, 2012

Chocolate Dipped Triple Peanut Butter Sandwich Cookies

I made these cookies on June 12th for National Peanut Butter Cookie Day! I officially proclaim this to be a national holiday in my life because I consider peanut butter to be one of my main food groups. So obviously I had to make something epic to celebrate. And the result was....

Happy Peanut Butter Cookie Day!
Ken enjoying a peanut butter cookie sandwich sundae. I do NOT mess around with sweets.

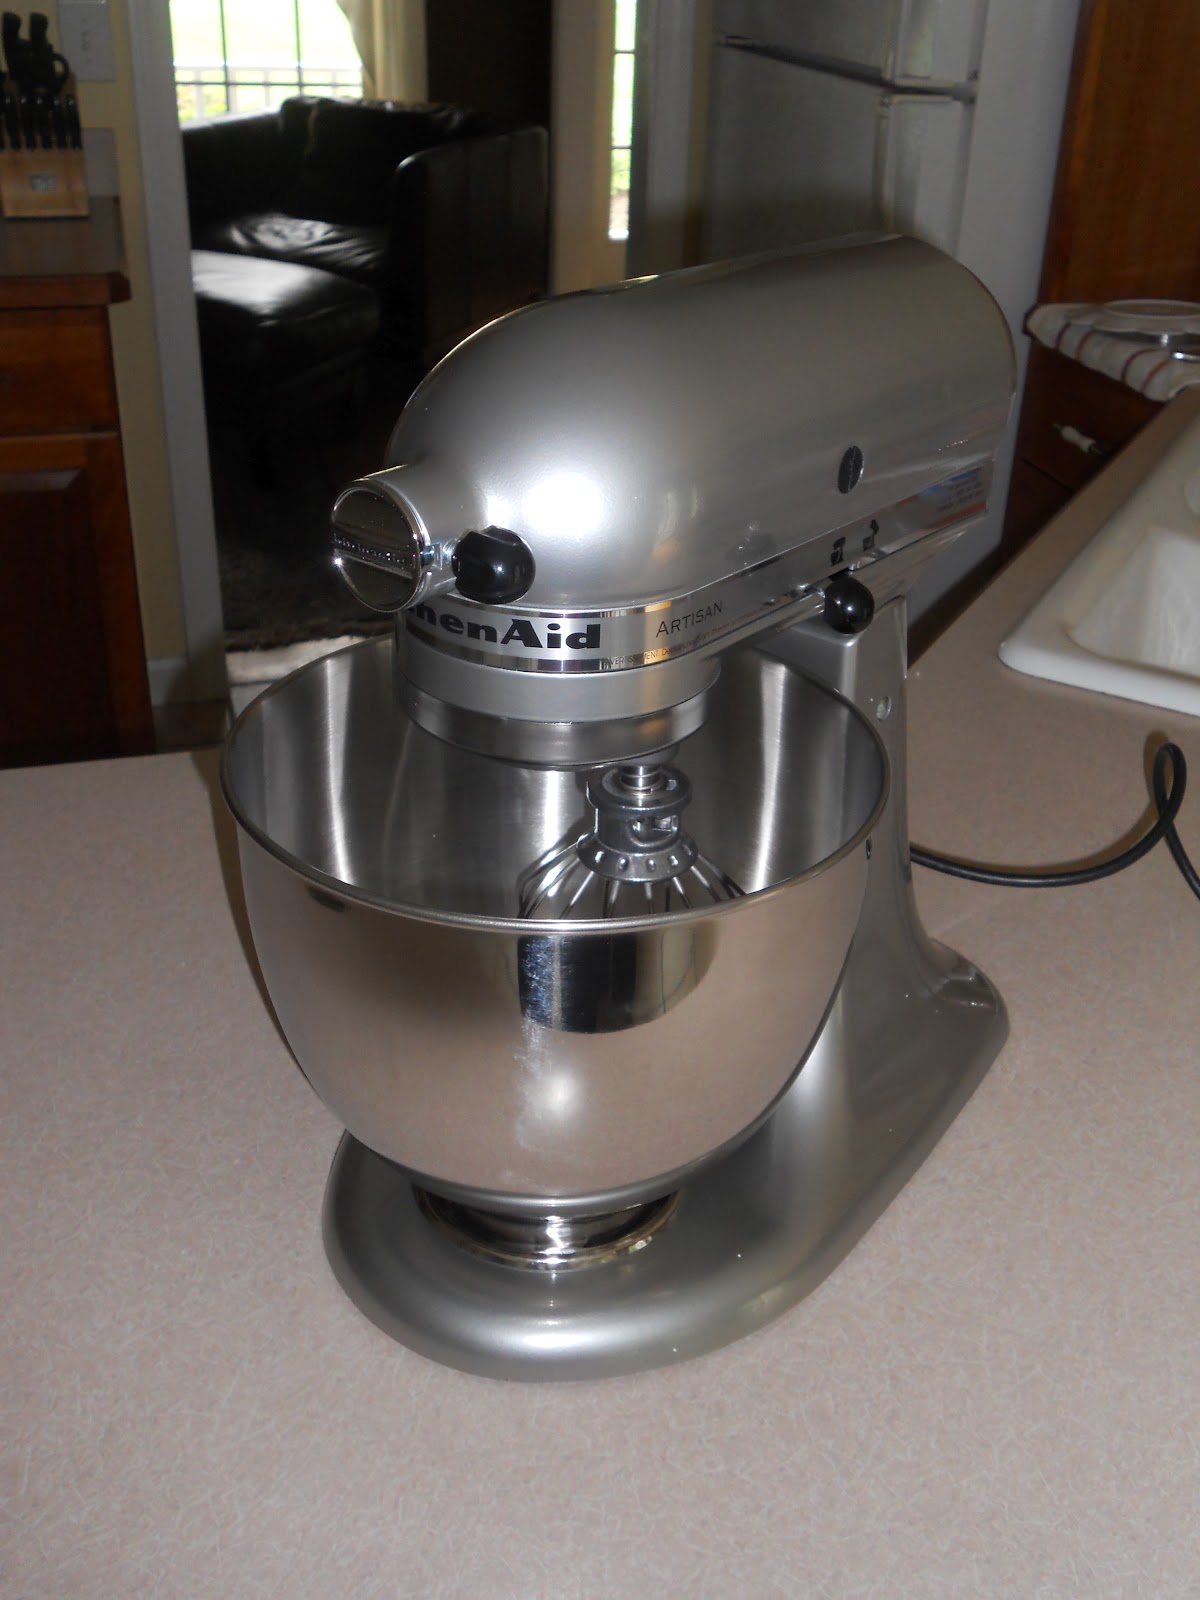
Also, it was a perfect excuse to FINALLY use the stand mixer that I got for Christmas! I've been dying to use it but didn't bring it to school. I knew that if my housemates touched it, I would likely commit homicide. Then I'd NEVER find a teaching job.

I've also named her. Her name is Mable. Able Mable will help me accomplish outstanding culinary wonders.


isn't she stunning?
As soon as I saw this recipe, I knew I had to try it. Considering it was PEANUT BUTTER cookie day, I didn't want to jumble up this dessert with too many other ingredients (I know... who am I?). And I wanted a peanut butter overload (that sounds more like the Kelsy you've come to know). How can you go wrong with a creamy peanut butter filling smushed between two crisp peanut butter cookies? It's covered with just enough chocolate to use to make some honey roasted peanut piece stick for a little extra crunch!

This peanut butter cookie recipe yields a crispy peanut butter cookie that holds its shape. Though I also love soft peanut butter cookies, I think these thick crispy ones are better suited for the crunchy filling and the chocolate coating because they are more sturdy. The dough is a little crumbly so I found it easiest to gather about a tablespoon of dough, roll it in my hands to get it to stick together, and then press it flat with the prongs of a fork. I love the use of brown sugar in both the cookies and the filling. I really think it deepens the peanut butter flavor as well as sweetens it whereas granulated or powered sugar just sweetens the peanut butter. I am in absolute love with these.

These come together really easily. The most time consuming part of the process was dipping the final sandwich in the chocolate and covering them with peanuts. Melted chocolate and I have a love hate relationship. I hate working with it but love consuming it. I had quite a bit of the peanut butter filling left over. It didn't last long because I kept snacking on it with apples, crackers, and, of course, my fingers. Don't worry, the spreading of germs was not an issue because I had NO intentions of share my extra stock with anyone.

I'd say that making these is a must due to their ease and the fact that the final product looks very impressive. Also, they are a peanut butter fanatic's dream. I'm in heaven.


Chocolate Dipped Peanut Butter Sandwich Cookies (25-30 sandwich cookies) from Joy the Baker
For the Cookies:
  • 1/2 cup unsalted butter, at room temperature
  • 3/4 cup smooth peanut butter
  • 1/2 cup granulated sugar
  • 1/2 cup firmly packed brown sugar
  • 1 egg
  • 1 1/2 cups flour
  • 1/2 teaspoon baking powder
  • 3/4 teaspoon baking soda
  • 1/4 teaspoon kosher salt
For the Filling:
  • 2 cups crunchy peanut butter
  • 1/2 cup unsalted butter, at room temperature
  • 1/4 cup heavy whipping cream
  • 1/2 cup powdered sugar
  • 1/4 cup firmly packed brown sugar
  • 1 teaspoon vanilla extract
For the Optional Coating:
  • 10 ounces semi sweet chocolate chips,
  • 1 cup honey roasted peanuts, coarsely chopped
1.       Preheat the oven to 375 degrees F and line baking sheets with parchment paper.  Spray with cooking spray.
2.       Using a stand mixer with a paddle attachment, beat the butter and peanut butter on medium speed until well combined.  Add the sugars and beat until light and fluffy (about 2 minutes).
3.       Add the egg and beat on medium speed for 1 minute.
4.       In a medium bowl, whisk together the flour, baking powder, baking soda and salt.  Add the flour mixture to the peanut butter mixture and beat on low until just combined.  Refrigerate the dough for at least 30 minutes.
5.       Scoop up a little less than a tablespoon of dough and roll it into a ball. Place the dough balls on the cookie sheet about 1 1/2-inches apart.  Use the prongs of a fork to press the cookies flat (I pressed once vertically and once horizontally).  Bake for 7-8 minutes until the cookies are golden brown along the edges.
6.       For the filling:  Use a stand mixer with a paddle attachment to beat the butter, peanut butter and heavy cream together on medium speed until light and fluffy, about 2 minutes.
7.       Add the powdered sugar, brown sugar, vanilla, salt and beat on medium speed until combined.
9.       Spread generous amounts of the filling onto the flat bottom of a cookie.  Top with another cookie, ridge side up.  
10.  Melt the chocolate in the microwave (I melt it in 30 second increments, stirring after each 30 seconds). Dip one side of the sandwich in chocolate or spread the chocolate on one side with a knife. 
11.  Set a wire rack on top of a sheet of waxed paper.  Set the dipped cookies on the wire rack. Sprinkle the chocolate with chopped nuts immediately after dipping so they stick. Transfer the cookies to the fridge for 10 minutes for a quick drying time.


my standmixer making my life 1000 times easier!
the dough.
shaped and prebaked
baked cookies - pre-sandwich
frosting with powdered AND brown sugar
filling these babies!
soooooo many cookies!
finished and drying!
plated and ready to be enjoyed :)

Friday, June 8, 2012

Baked Grapefruit

This is barely a recipe. But it is really delicious and easy so I figured I'd share it!

Also I'm currently "participating" in a horrifically boring and useless online technology graduate class. So I figured why not use my time wisely to get in a quick blog post? I'm also pinning and watching "Say Yes to the Dress - Bridesmaids".  I'm a master multitasker.

I used to eat grapefruit with my grandfather, Curt, all the time. I would make him separate the sections perfectly and coat it in about a cup of granulated sugar and deliver it to my TV table in the living room. I was a total princess spoiled brat. He even had these special serrated spoons that were ONLY used for grapefruit consumption. And could possibly double as a tool for cutting out my tongue if I was rude.

Anway, this is a great way to eat grapefruit for people who don't think they like it because it's too bitter but also don't want to add the previously mentioned cup of sugar. The brown sugar and honey sweetens the grapefruit up and the heat makes the sweetness soak all the way through the fruit. I also love that baking the grapefruit makes it swell so it's really juicy! A helpful hint is to cut the grapefruit into sections before baking. This will allow the sugar and honey to really sink in. It will also ensure that you don't burn yourself while try to dig out the sections while it's piping hot. Why yes, I am speaking from experience.

Give this "recipe" a try for a quick, tasty, and healthy breakfast or snack!

Baked Grapefruit
  • 1 grapefruit
  • 1 tablespoon brown sugar (I used Splenda)
  • 1 tablespoon honey
  • cinnamon (to taste)
  1. Preheat the oven to 425 degrees.
  2. Cut the grapefruit in half. Cut around the sections of the grapefruit (just inside the peel but leaving the peel itself in tact).
  3. Sprinkle each half with 1/2 tablespoon of brown sugar. Drizzle 1/2 tablespoon of honey on each half. Sprinkle each half with the desired amount of cinnamon.
  4. Place on a baking sheet and bake for 10-12 minutes or until grapefruit sections are puffed up and/or beginning to caramelize. 
  5. Dig in - carefully!

cinnamon chip muffin with raspberry jam and baked grapefruit. yum!


Saturday, June 2, 2012

Individual Icebox Cakes

Part II of my mom's birthday!

My mom doesn't have a huge a sweet tooth. I can't decide if I'm jealous of her or not. Unlike me, she does not crave sugar, chocolate, peanut butter, candy, cake, cookies, ice cream, and anything dessert related constantly. Seriously, sometimes it's a battle to make myself stop baking cupcakes, seal the bag of gummy candy, and eat some real food. However, she also doesn't understand the happiness and satisfaction that I feel when I sit down each evening and indulge in my nightly dessert at exactly 9:30. Pure. Bliss.

Anyway, I asked my mom what she wanted for her birthday dessert. I sort of expected her to say "nothing" or name someone else's favorite dessert. But she surprised me and immediately told me that she had been craving a mint icebox cake. Your wish is my command, mom!

delivering the requested goodies!


My grandmother always used to make an icebox cake with creme de menthe in the traditional log form. As I've mentioned before, I'm not in love with mint. And if I'm going to make a dessert, I want to be able to enjoy it. I prefer my refrigerator cake flavored with Kahlua. Coffee and chocolate is always winning combo in book. I know my mom agrees because, though my sweet tooth is a personal struggle, I get my coffee addiction from her. However, my mom specifically mentioned mint and her boyfriend despises coffee so I was torn. That's when I came up with the idea to make individual icebox cakes!

The individual icebox cakes are far more tedious to make than the log but I like them better. The traditional icebox cake is supposed to be sliced at an angle so that you can see the cookie layers. In reality, it always ends up looking like a bowl of mush because the cake is too soft to slice or dish out. The individual cakes are so cute and the layers stay in place as you dig into it with your fork. Also, it's perfect portion control! And you can make exactly as many servings as you want/need without any guesswork. The individual desserts solved the problem of flavors because I was able to make half of cakes with creme de menthe and half with Kahlua. Most of the people wanted to try both so I ended up cutting the cakes in half. I stuck strictly with my Kahlua and my mom's boyfriend stuck to his mint... the true stand-off of flavors. Everyone enjoyed the cakes and thought the individual desserts were a great idea!


my mom satisfying her tiny sweet tooth :)


Individual Icebox Cakes (yields about 15 individual cakes) adapted from Smitten Kitchen
  •  2 package of Nabisco chocolate wafers
  • cupcake liners
  • Hershey's chocolate (optional)
  • chocolate covered espresso beans (optional)
For the whipped cream (adapted from How Sweet It Is)
  • 1 cup heavy whipping cream
  •  1/4 cup alcohol (I used Bailey’s Irish Cream and creme de menthe)
  • 1-2 tablespoons powdered sugar
  • 1 teaspoon of vanilla extract
  1.  Flatten 15 cupcake liners.
  2. Whip the whipped cream ingredients until the whipped cream holds firm peaks. Spread about two teaspoons whipped cream between each cookie, to the edges, and stack them on a cupcake liner until you reach the height you’d like (I made each cake using 5 wafers). 
  3. Use a knife to spread frost the entire individual icebox cake with whipped cream. 
  4. Garnish cakes with chocolate shavings and/or espresso beans.
  5. Set them in the fridge at least overnight or up to a day. The cookies will soften as they set, and become cake-like.
  6. Serve immediately from the refrigerator. 


creme de menthe whipped cream
5 cookie stack!
creme de menthe and kahlua