Dessert dips are dangerous. If they aren’t proportioned, I end up
hanging out by the dip and eating it during the whole party while somehow
convincing myself that I didn’t really eat anything. I figure, if I only eat
one tiny bite at a time and I don’t use a plate, the calories don’t count.
That’s true, right?
Well, with this dip, you don’t have to feel guilty! It’s low in fat and
calories and I swear you would never know. And for all you cake batter lovers,
this tastes like the real deal. But it won’t give you salmonella so it’s even
better! It is super sweet so all the kids at my party loved it but it was too
much for some of the older women (my grandmother found it disgusting). By the
way, when does that happen? What’s the magic age when things start becoming
“too sweet”? It’d be nice for my waistline but I’m definitely dreading that
day.
I served it with mini graham crackers and animal crackers. Nilla wafers
would be good too! It reminded me of eating Dunkaroos when I was in elementary
school. I used to eat all of the kangaroo shaped crackers plain. Then I would
save the circular ones and use all of the frosting to make a couple GIANT
cookie-frosting sandwiches. The good ole days!
Oh, and it has sprinkles. Rainbow sprinkles never fail to make my day
better. How can you not be happy when eating something so bright and cheerful?
Try frowning and eating sprinkles. I bet it’s impossible.
Funfetti Cake Dip (24 ¼ cup
servings – 105 cals) from Eat Yourself Skinny!
·
1 (18.9 oz) box
Funfetti cake mix
·
2 cups fat-free
vanilla yogurt
·
1 cup lite Cool
Whip
·
Fat-free animal
crackers
1.
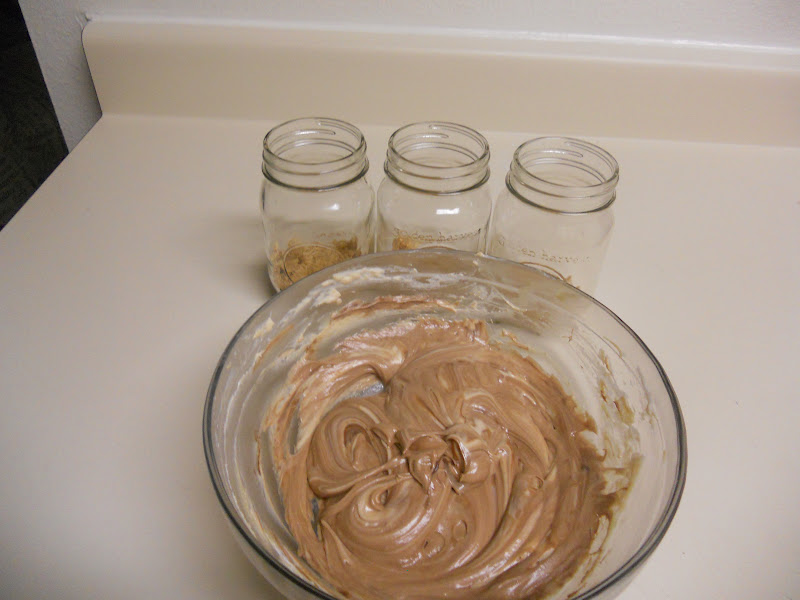
In a large bowl,
mix together cake mix, plain yogurt and Cool Whip until completely combined and
you see no more lumps. Cover with plastic wrap and allow to chill for
about 4 hours.
Garnish with
additional sprinkles if desired and serve with animal crackers, graham
crackers, and/or Nilla wafers! 


 |
| Why do sprinkles make everything better? |